


Frame Your Wooden Puzzle
Easy DIY Tips to Frame Your WAWW Wooden Puzzle Like a Pro
Great job on completing your WAWW masterpiece! Here's your hassle-free, glue-on-the-back guide, specifically designed for WAWW's laser-cut wood puzzles.
Start FramingStep 1: Gather Your Supplies
Essential Items
- Your completed WAWW puzzle
- Wide brush or plastic spreader
- Wax paper or parchment paper
- Clean, flat surface
Choose Your Glue
Step 2: Glue the Back (Only the Back!)
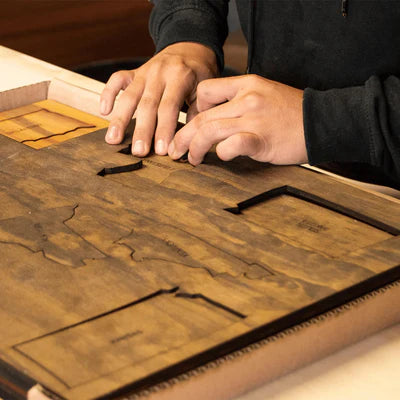
Flip your puzzle over
Keep it intact (a baking sheet helps for the flip!). Place it face down on your surface.
Apply glue evenly
Brush a thin, even layer over the entire back – edges, corners, and crevices. Don't soak it — just enough to hold everything in place.
Let it dry completely
Follow your glue's dry time (a few hours minimum), but overnight is best for a super sturdy bond. 💤
Step 3: Choose Your Framing Style
Now the fun part: framing your puzzle! Here are 4 easy options:
💸 Budget-Friendly
Buy a poster frame that fits your puzzle size (WAWW standard: 23x15" or 31x23"). Pop your puzzle in and boom — instant display piece.
✂️ DIY Chic
Stick your puzzle to foam board or sturdy cardboard using double-sided tape. Clean, modern, and easy to hang.
🌟 Gallery-Worthy
Floating frames give your puzzle breathing room and style — they're sleek, minimal, and elegant.
🎨 Collector's Choice
Want museum-quality? A local framer can help you pick archival matting and frames that elevate your puzzle into true wall art.
Step 4: Display & Enjoy!
Once framed, your puzzle is ready to make a statement. Hang it with picture hooks, command strips, or lean it on a shelf for a relaxed vibe.
💡 Bonus Tips
- Always use cardboard or a sturdy base to assemble your WAWW puzzles.
- Use a second set of sturdy cardboard and get help from a friend to turn your puzzle over by applying pressure and flipping.
- Keep puzzles away from extreme direct sunlight to prevent fading ☀️
- Prefer a matte finish if you're avoiding reflections.
- Want to switch puzzles seasonally? Use a magnetic frame or Velcro strips on the back of your board for easy swaps. 🔄
- Frame without glass to keep the wood texture visible.


